

In modern software development, creating consistent and reproducible environments across teams can be tough. Dev Containers offers a powerful solution by allowing you to define development environments as code using Docker. This method streamlines workflows by encapsulating the entire application setup, making collaboration easier.
In this guide, we’ll show you how Dev Containers can simplify working with Ruby on Rails and MongoDB within Visual Studio Code (VS Code), delivering a smoother and more efficient development experience.
Need expert support for your Dockerized Rails and MongoDB app? At Seta Workshop, we offer tailored solutions to optimize your development process. Let's talk today!
Understanding Dev Containers
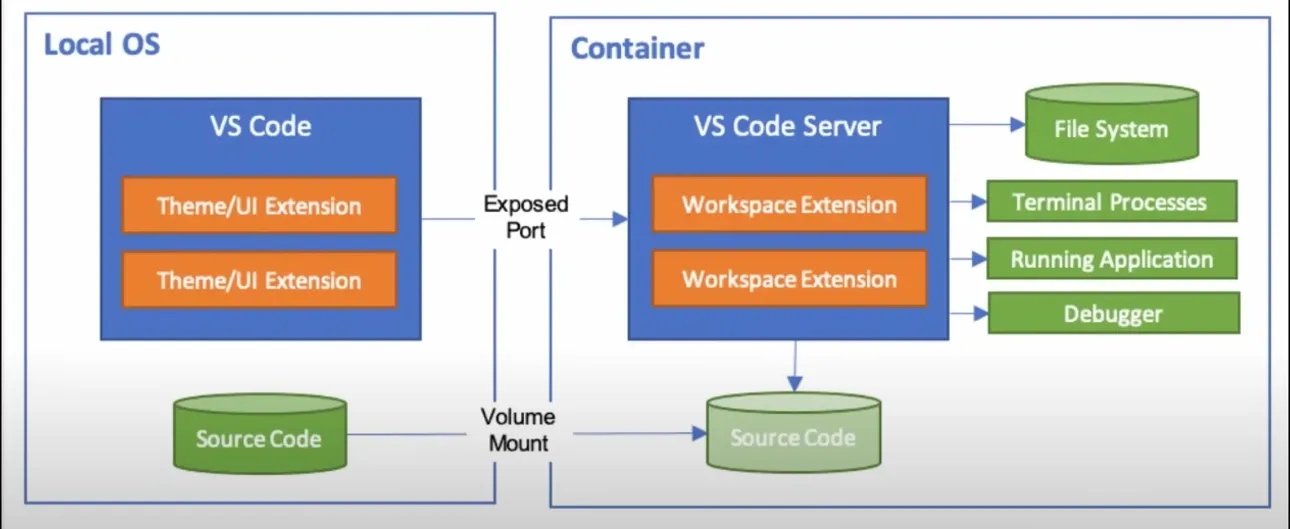
A development container, or Dev Container, is a powerful feature provided by Visual Studio Code that allows developers to define a development environment as code using a Docker container. This means you can have a consistent, reproducible, and isolated environment for each of your projects or specific tasks.
This feature helps you eliminate the common “it works on my machine” issue, making it possible for every team member to operate in the same environment.
How Dev Containers Work
A Dev Container encapsulates your application and all its dependencies, including:
- Operating system
- System libraries
- Tools and runtime environments
This setup enables your team to work in the same dev environment, cutting setup inconsistencies and solving the “it works on my machine” problem.
In Visual Studio Code, the Remote - Containers extension lets you open any folder inside a Docker container and work as if it’s running locally, streamlining collaboration.
Check out our previous article, where we walk you through what Docker is and how to Dockerize a Rails application with MongoDB!
Getting started with Dev Containers
To begin, follow these steps to set up development containers in Visual Studio Code:
- Install the Dev Containers extension: Add the extension in the VS Code.
- Create Dev Container: Choose a template or configure it with a specific Dockerfile or Docker Compose file.
- Add configuration files: Include a devcontainer.json file to define the full-featured development environment for your project.
Step-by-step: Connecting to the Dev Container
Once you install the extension, you can create a new Dev Container. If you’re using a Mac, press Cmd + Shift + P to quickly search for Visual Studio Code features or extensions.

You’ll find templates covering a wide range of dependencies.
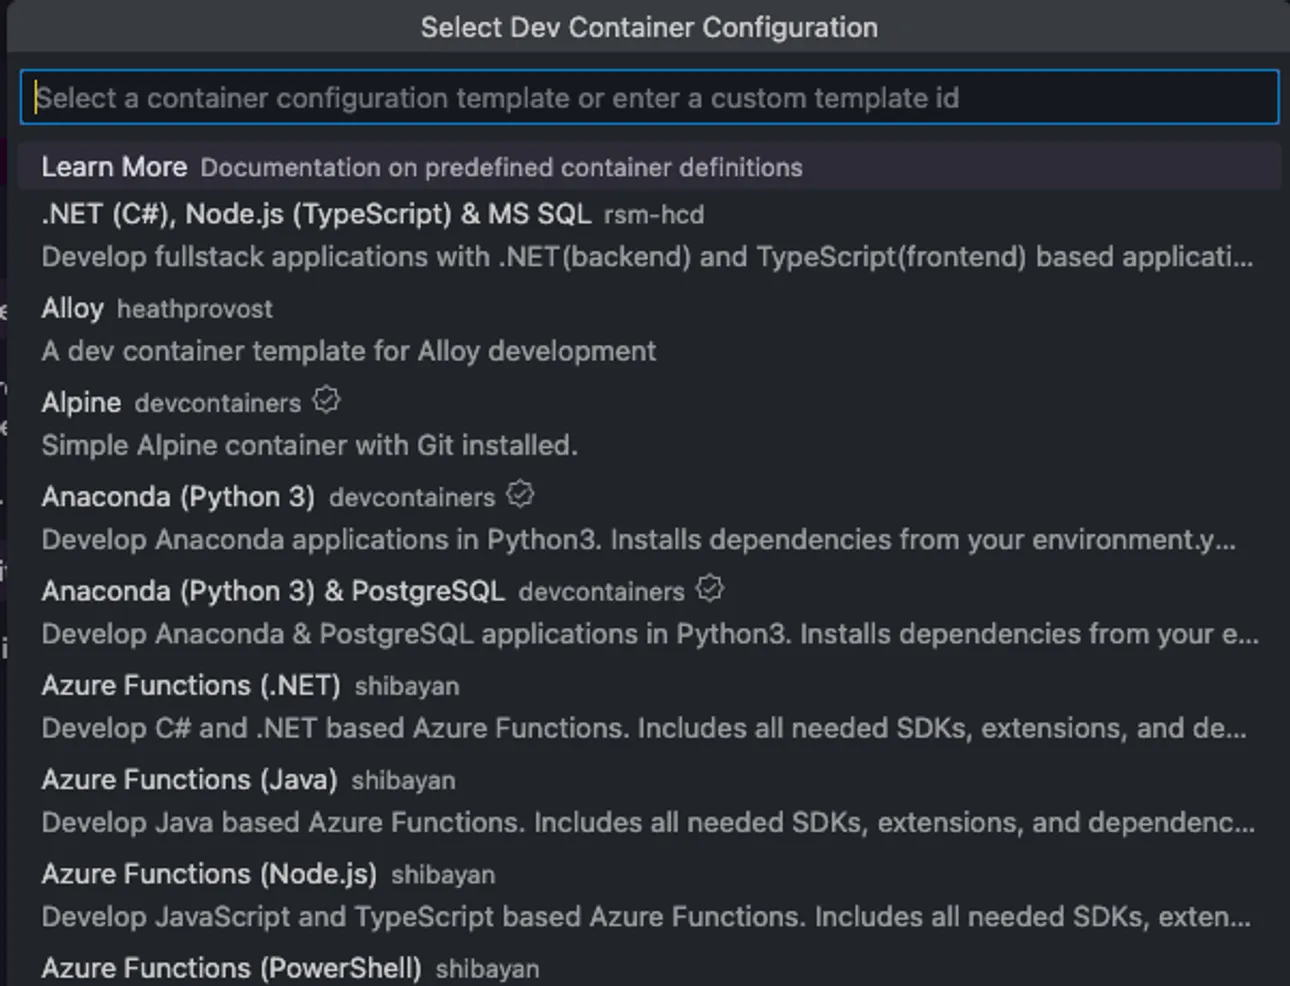
In this article, we show you how to create an Ubuntu-based container using a specific Dockerfile and Docker Compose file.
Want to dive deeper into Dockerizing a Rails application? Check out our related article on how to Dockerize a Rails app.
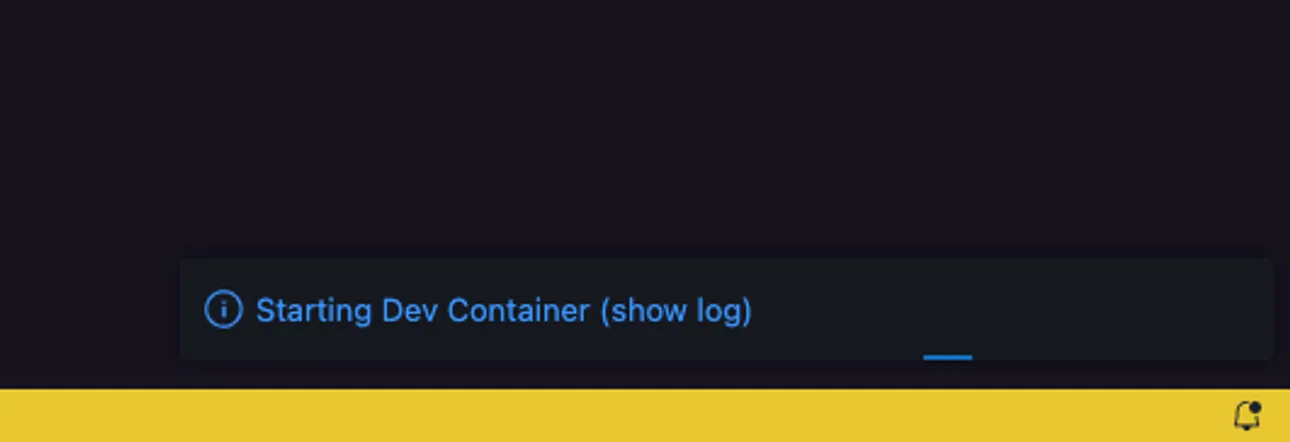
Connecting to the Dev Container
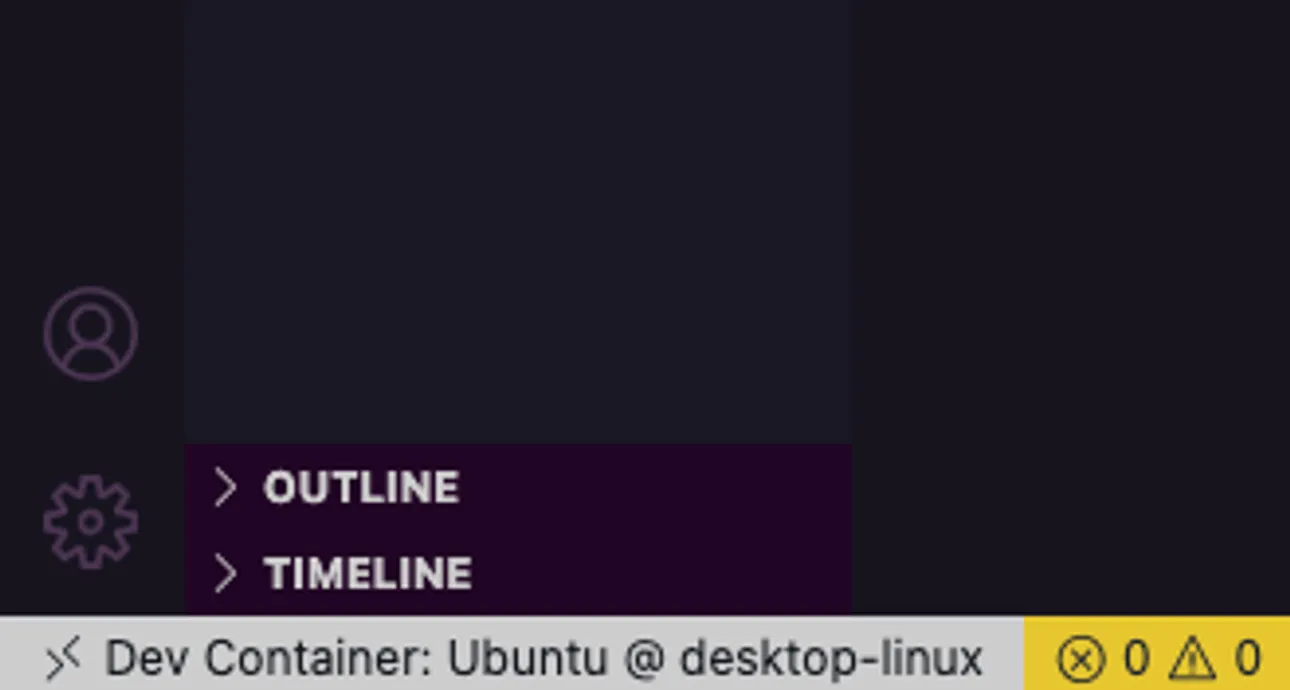
Once you initiate the Dev Container, a ‘starting dev container’ message will appear. Shortly after, you’ll be notified that you’ve successfully connected to the remote container.
Upon successful initiation, a .devcontainer directory is created. This directory contains a devcontainer.json file, similar to a Dockerfile but tailored for Dev Container configurations. This file specifies the container image used to build the container.
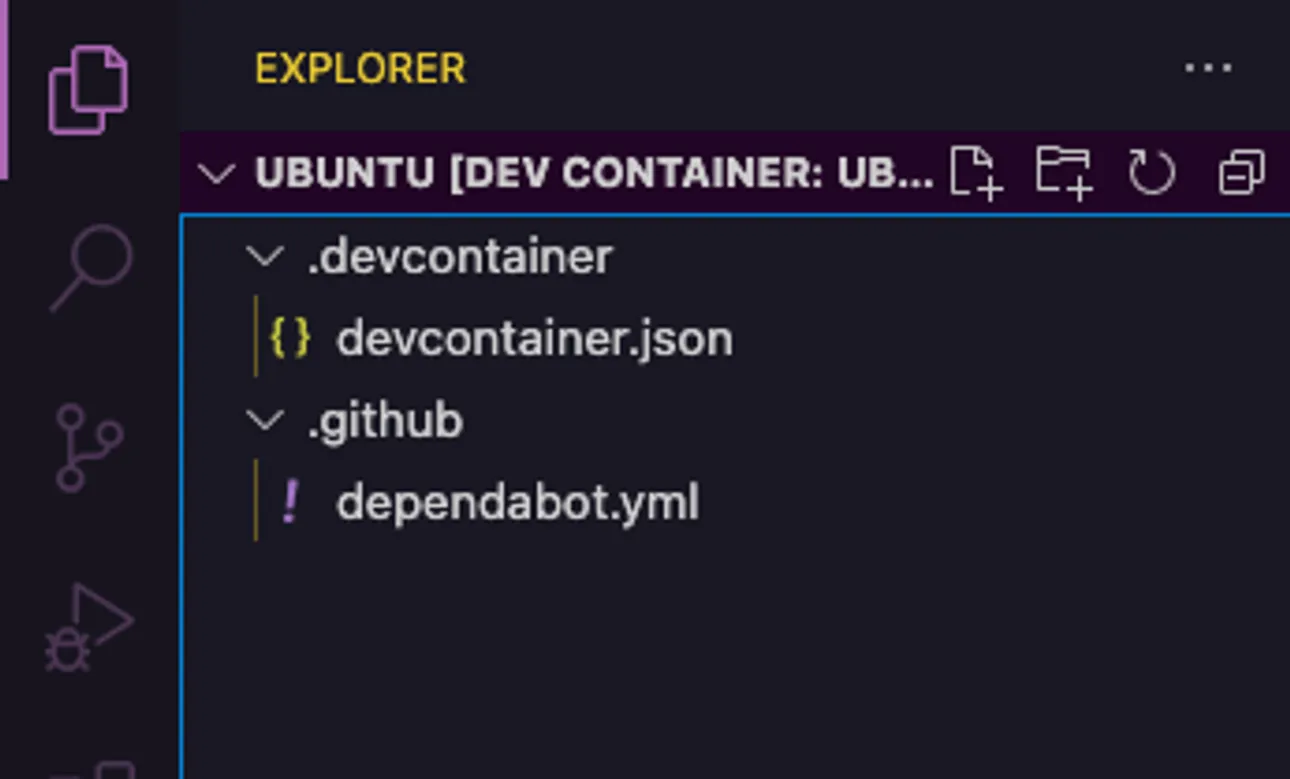
The devcontainer.json file allows you to customize the build process. You can specify the source of the build, such as a Dockerfile or a Docker Compose file, and add developer tools to the environment.
Here’s an example of a basic devcontainer.json configuration:
{
  "name": "Ubuntu",
  "image": "mcr.microsoft.com/devcontainers/base:jammy"
}
How to use Dev Containers with an existing project
If you want to incorporate development containers into your existing project, follow these steps:
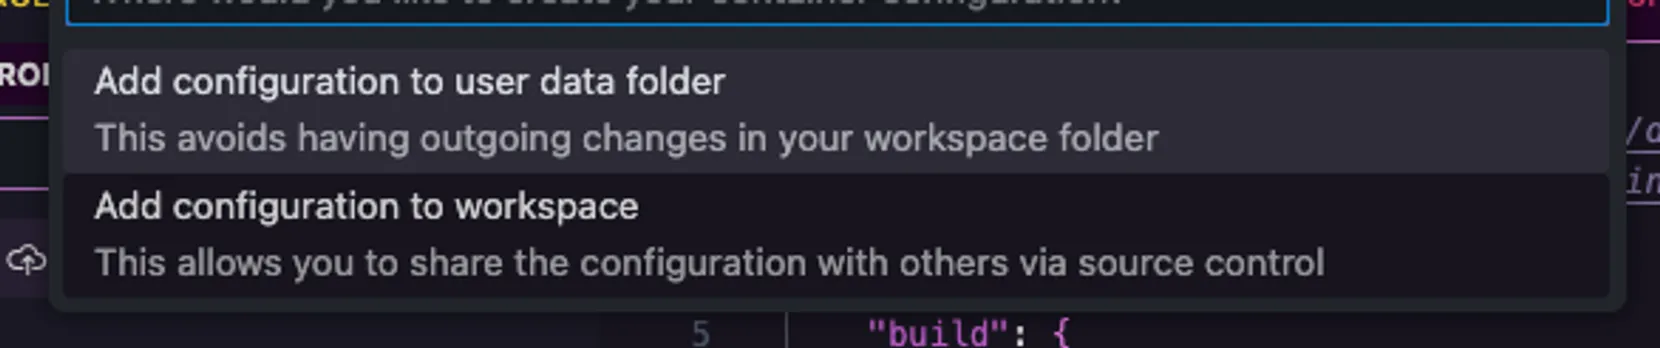
1. Add Dev Container Configuration Files
Search for “Add Dev Container Configuration Files” within the Dev Container extension.

2. Configure the devcontainer.json File
In the devcontainer.json file, set it to use your existing Dockerfile or Docker Compose file.
- Choose “Add configuration to workspace”.
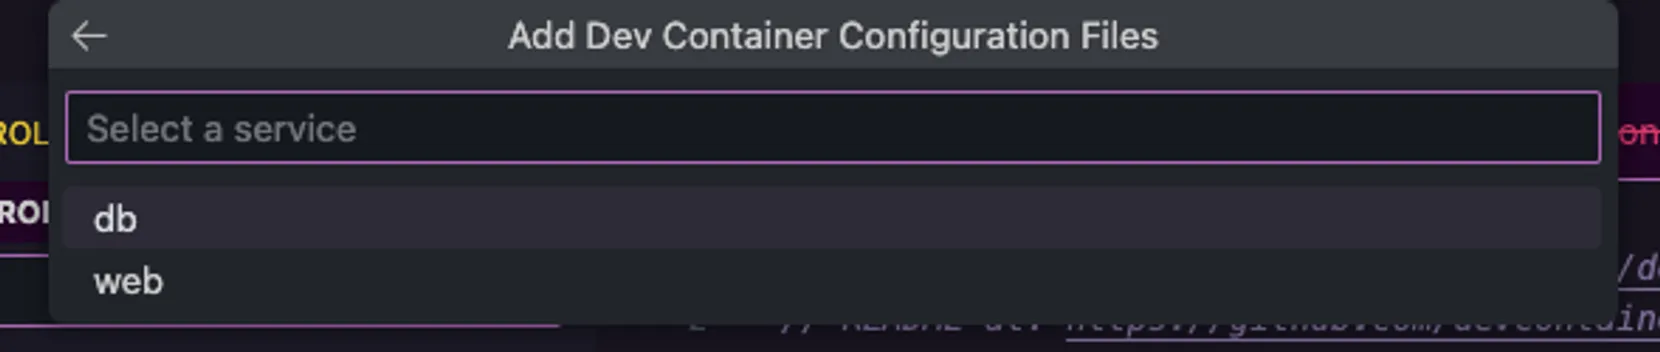
3. Specify the source of configuration
The configuration source can be either the Dockerfile or the compose.yml file. In this step, make sure your project folder is properly configured within the container settings.
For some projects, you might need to pull a specific container image from a container registry or work with files on your local file system.
- If you’re using the Dockerfile, your devcontainer.json file may look like this:
{
  "name": "App dev container",
  "build": {
    "context": "..",
    "dockerfile": "../Dockerfile"
  }
}- In contrast, if you’re using an existing compose.yml file, it will ask you to select a service.
Your devcontainer.json file could look like this:
{
  "name": "App dev container",
  "dockerComposeFile":[
    "../compose.yml"
  ],
  "service":"web",
  "workspaceFolder":"/workspaces/${localWorkspaceFolderBasename}"
}
4. Rebuild and reopen in Container
After setting up the configuration, search for “Rebuild and Reopen in Container.” This process will confirm that your docker-installed files work seamlessly within the new environment.

5. Finalize and access your workspace
Now, you’ll have a workspace for your existing project, complete with a container running your Compose file. This setup mimics a local environment, but it will actually be running remotely.
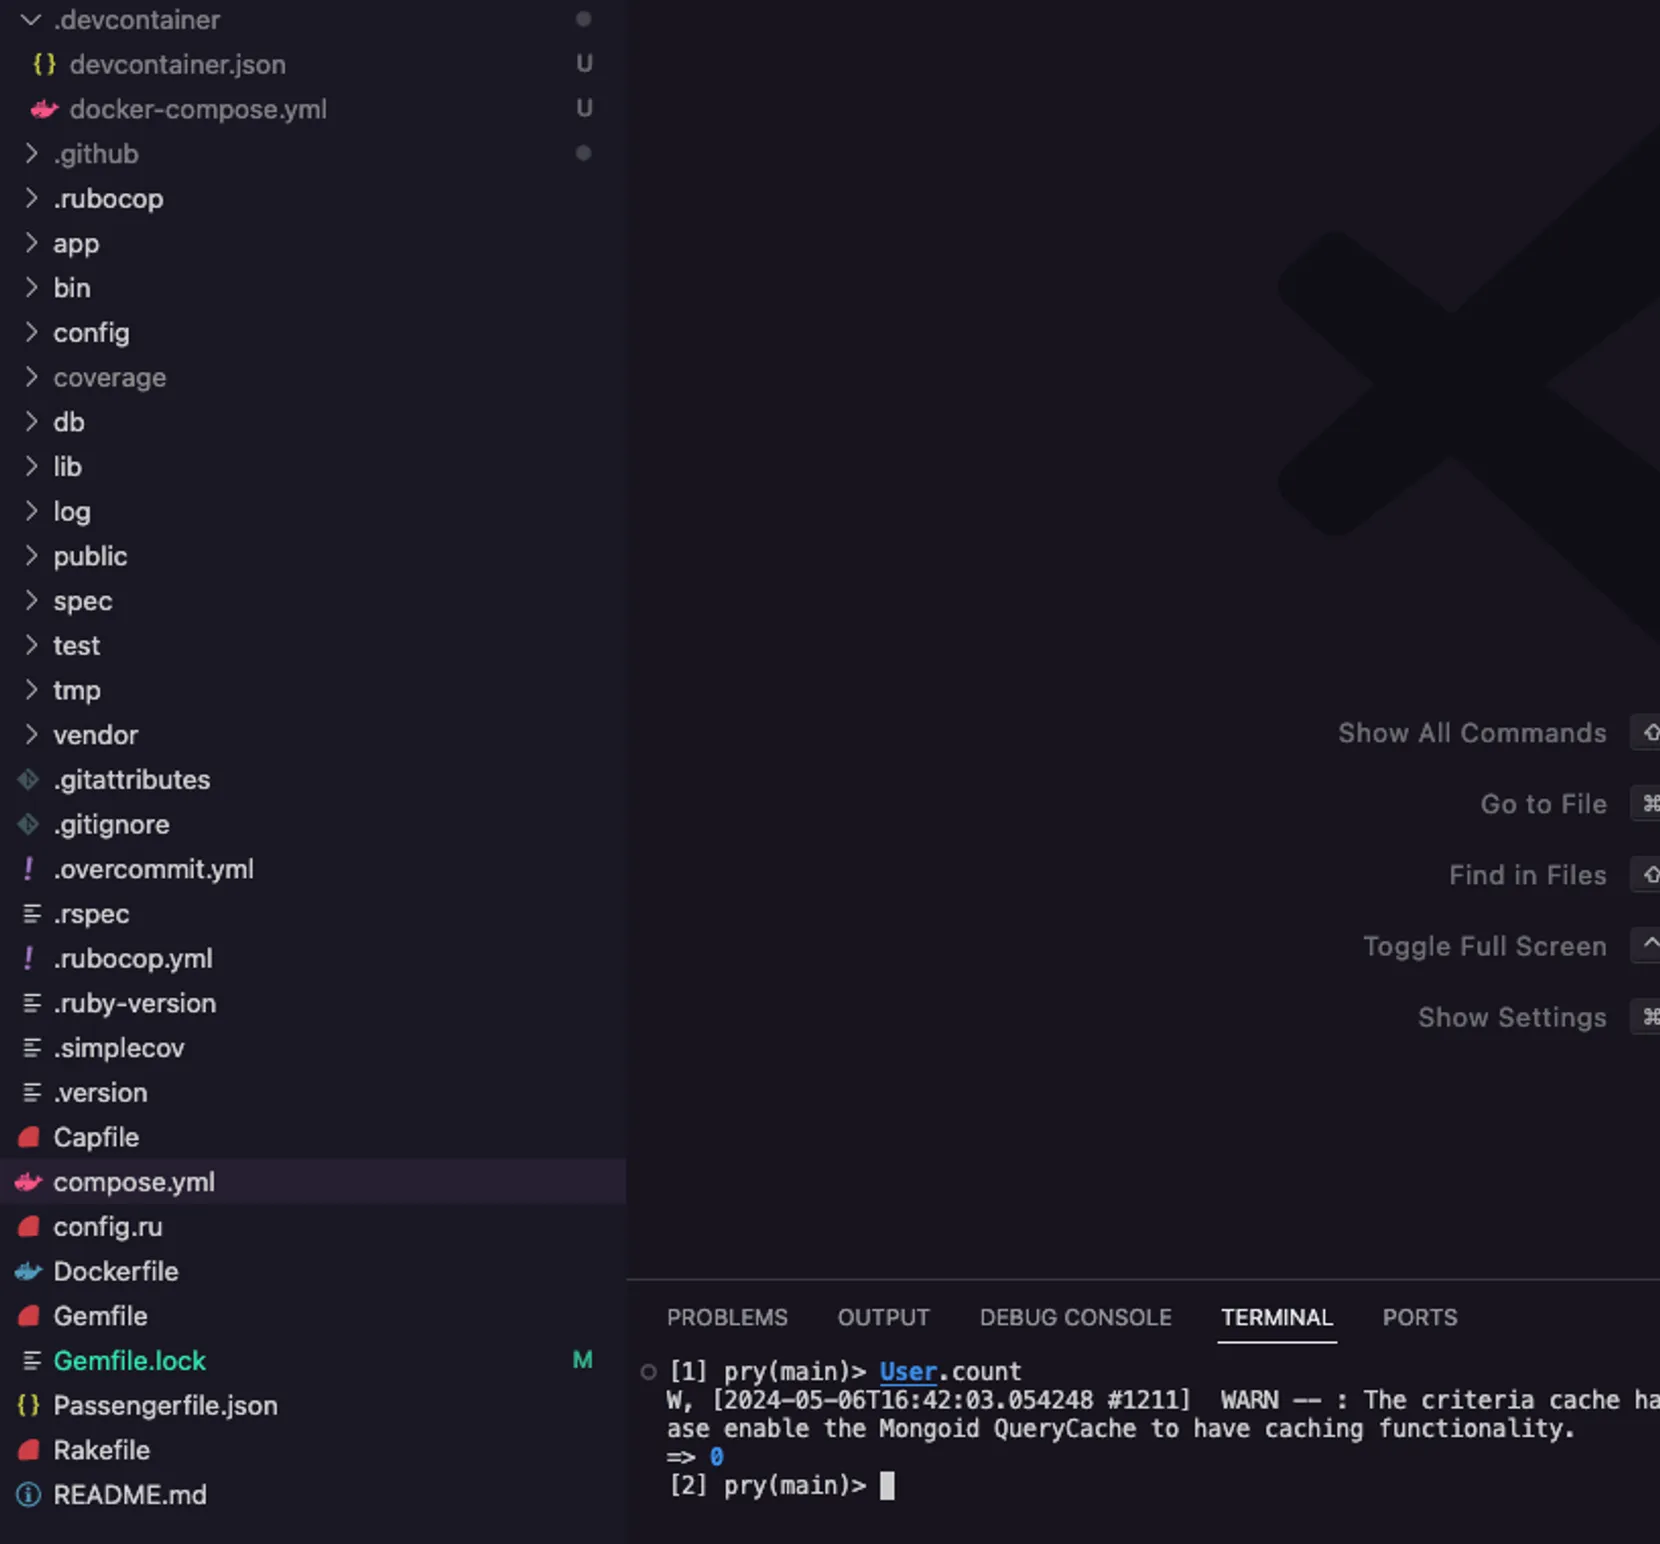
You can even open a terminal and use the Rails console seamlessly!
Wrap-Up about Docker Dev containers
Dev Containers offer a powerful way to manage development environments, enabling consistency and reproducibility across teams and projects. By using Docker and Visual Studio Code’s Remote-Containers extension, you can create isolated environments tailored to your project’s needs.
Whether starting fresh or integrating into an existing project, Dev Containers simplify setup, reduce configuration inconsistencies, and make collaboration easier. Embrace Dev Containers to streamline your workflow, maintain a reliable environment, and focus more on coding, and less on setup.
Partnering for your growth

At Seta Workshop, we understand the challenges of managing development environments and fostering smooth workflows across teams. Our expertise with Docker, Dev Containers, and Visual Studio Code allows us to offer tailored solutions that fit your project’s specific needs.
We can assist you in configuring Dev Container files, optimizing your local environment, or using Docker Desktop, Docker Compose files, and container images. Partnering with us means you’ll benefit from a consistent development environment designed for your project, enabling seamless transitions across teams and tools.
Ready to elevate your project? Let’s optimize your development environment for long-term growth. Contact us today!